Launch kit for a new location, from blank room to first class

Opening a new room or a second site is stressful. It does not have to be chaotic. Use this kit as a short checklist you can follow in order. Each section links to a help doc when you need the how to.
Want help tuning this for your gym or studio?
Schedule a quick callStep 1: Create the skeleton
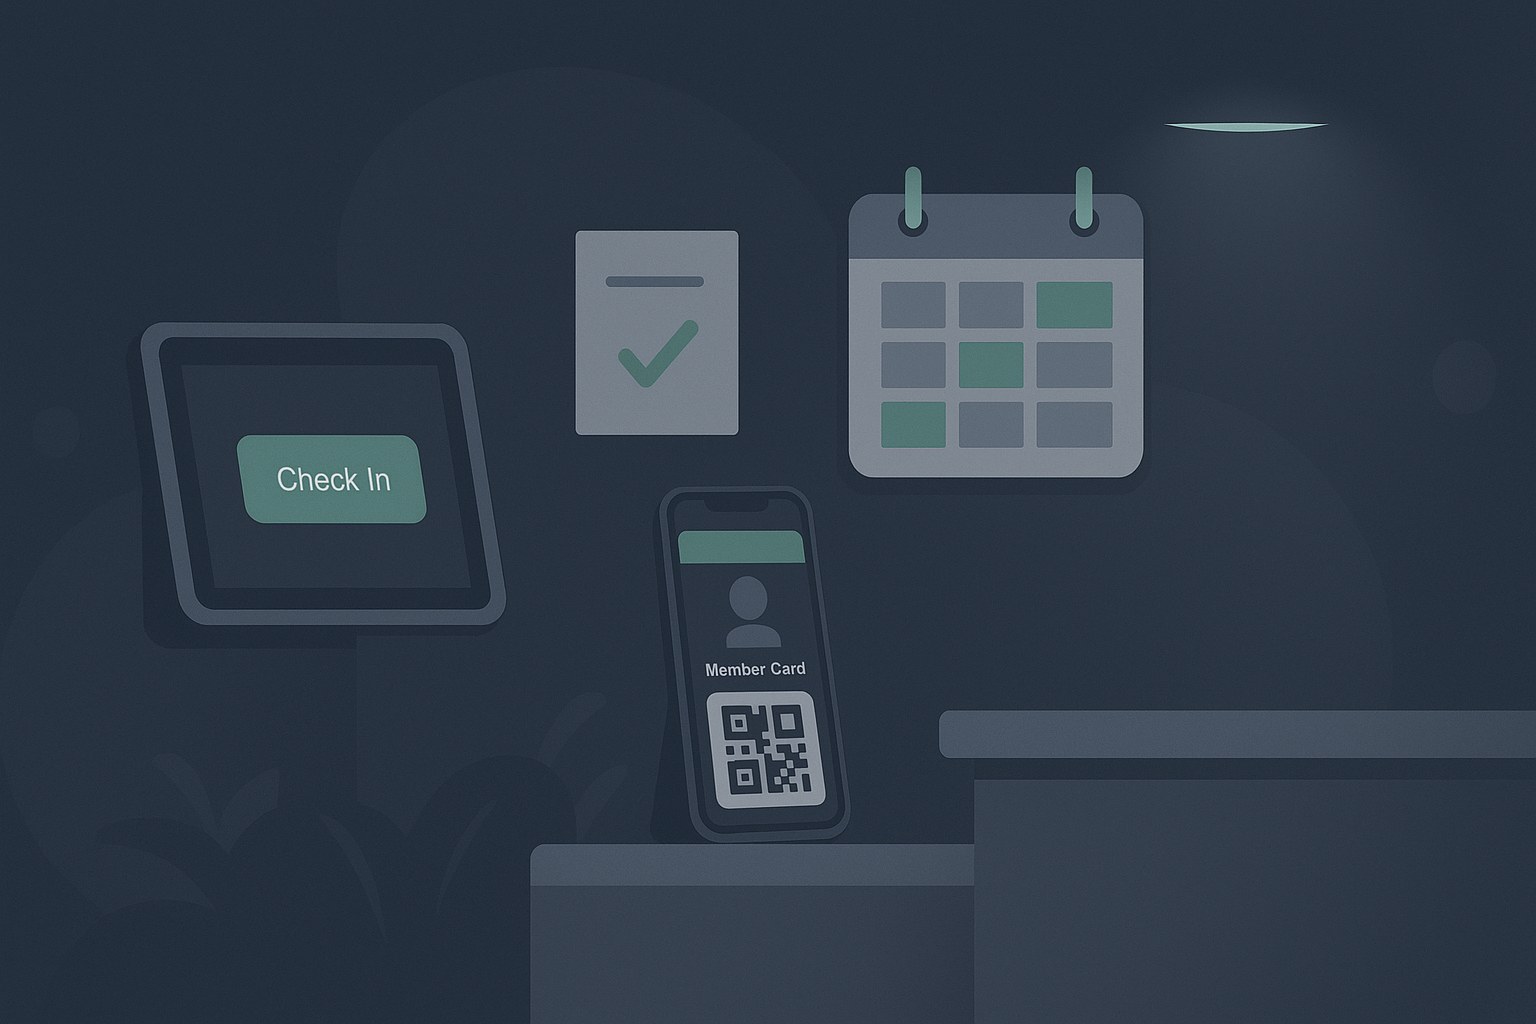
Goal: your site has a clean calendar, a waiver, a place for members to check in, and a way to scan IDs.
- Decide your classes and events – set the first two weeks on the calendar. Keep it simple, one class per time slot to start.
- Attach a waiver or agreement to any class that needs it, keep the text short, add initials for key items. Learn more in Help
- Turn on digital ID cards so early members can save their pass in Apple Wallet or Google Pay, then test a scan from your phone. Learn more in Help
- Pick your check in flow – standard kiosk or quick kiosk. Quick kiosk is faster during rush periods. Put a tablet near the door and try a full check in. Learn more in Help
Pro tip: schedule a pretend class tomorrow at 9 a.m., run through the flow as a member, fix anything that feels slow.
Step 2: Invite your staff and set notifications
Goal: your staff can help without guesswork, the system tells you when payments fail.
- Add staff accounts and choose who will receive failure alerts and system emails. You can set the staff alert list and sender name in portal settings. Learn more in Help
- Keep permissions tight at launch, promote access later as people settle in.
Need us to invite staff and set alerts for you?
Book a setup sessionStep 3: Import members and set up sales items
Goal: your founding members are ready to scan in, your first day charges are clean.
- Prepare a simple CSV with name, email, plan, status, and start date. If you are moving from another platform, mirror your current statuses for a clean cutover. CSV import guide
- Create your launch offers, for example a standard monthly plan, a punch card, a private lesson, and a day pass. If you sell short passes for opening week, use one time charges that expire. Products and one time charges
- If you plan events like an opening clinic, add a short agreement on that event only, keep your main waiver general. Agreements and waivers
If you want help formatting an import file, reach out and we will share a template.
Step 4: Set up check in hardware
Goal: a member can walk in, tap the kiosk, and get to the mat or the rack without a line.
- Mount the tablet for the quick kiosk near the entrance, keep it eye level, plug it in, turn off auto lock. Kiosk setup
- Test digital cards from two different phones under bright lights to check scan reliability. Digital cards
Keep a spare charger on hand, keep the screen brightness high during evening classes.
Want hardware suggestions that fit your front desk?
Get a hardware checklistStep 5: Opening day script
Goal: your team knows what to say and what to do, the little things are handled.
- 1 Five minutes before class, check the quick kiosk, confirm the class appears, do a test check in. Kiosk tips
- 2 Have a short line script, "Hi, first time here, please scan your card or tap Sign In, new members tap Create Account."
- 3 If a member has not signed the waiver, have them sign on the spot, do not delay class. Waivers
- 4 After class, post the next two days of classes. New people want to return while the good feeling is fresh.
Step 6: Week one follow through
Goal: keep momentum, collect payments, reduce questions.
- Send one text each morning with a single call to action. For example, "Open mat at 6 p.m., three spots left, reply yes to hold a spot." Messaging
- Use digital cards at the front desk even for staff so members see the scan habit. Digital cards
- If you run out of time for a full setup, the quick kiosk keeps you moving, switch back to the standard flow once traffic slows. Kiosk options
We can walk your team through this on a short screen share.
Schedule a demoShort checklist you can print
Two weeks out
- Draft first two weeks of classes and events
- Write your general waiver, keep it one page, link it to all classes that need it Agreements and waivers
- Turn on digital ID cards, test a save and a scan from two phones Digital cards
One week out
- Add staff, set email sender, add failure alert emails in portal settings Portal settings
- Create launch offers, set a day pass or week pass using one time charges if needed Products and charges
- Stage the tablet and power, open the quick kiosk, confirm the class list shows correctly Kiosk setup
Day before
- Run a full test, create a test member, sign the waiver, check in at the kiosk, scan the card Help center
- Make a short script for greetings and for no account cases
Opening day
- Open the quick kiosk twenty minutes early, keep a staff member nearby to help Kiosk tips
- After the first class, review who attended, send one text with a thank you and a link to tomorrow class
End of week
- Post the next two weeks of classes
- Review failed payments and messages from portal alerts, fix any typos in member emails Portal settings